Showing posts with label Chocolate cake. Show all posts

Tuesday, 1 April 2014

Chocolate Cake with Ganache and Whipped Cream | Chocolate Truffle Cake with Whipped Cream

Today while browsing through my pics, I saw photo of this chocolate cake that I made this Valentines' day. I had missed posting it and didn't realize it!! When I saw it today, I had to post it!! Thankfully Zini's vacation will end soon and hopefully I will get back to regular posting :)

This cake was a perfect Valentines' day treat!! It will do great as birthday cake too.. We all loved it. With chocolate sponge soaked in sugar syrup and topped with layers of chocolate and whipped cream, what's not to like?!?

I made the same sponge as I use in my Black forest cake.. You can use any sponge that you prefer..

Chocolate Truffle Cake with whipped cream
Ingredients:

1 Chocolate sponge cake (My cake weighed around 700 gms)
1 cup of broken pieces of chocolate compound (I used Morde dark chocolate compound)
1/4 cup fresh cream (malai) - For a vegan cake replace this with coconut or soy milk
1 cup unwhipped heavy cream (I used Rich's whip topping - it's dairy free)
1/2 cup Sugar syrup

Method:

1) In a pan take water and boil it. On top of it, keep a big bowl in such a way that the pan is covered. This is your double boiler.
2) In the big bowl, take chocolate pieces and keep stirring them till they melt.
3) Add fresh cream (malai) to it and beat well till you get smooth shiny mixture. Turn the heat off. Your chocolate ganache is ready.
4) Now whip the heavy cream till you get the stiff peaks.
5) Cut your chocolate sponge horizontally.
6) Take one sponge in your serving plate and sprinkle half of the sugar syrup uniformly.
7) Apply the prepared chocolate ganache on the cake.
8) Now, put other half of the cake and put it on top of the first layer of the cake.
9) Sprinkle remaining sugar syrup on this layer.
10) Apply the chocolate ganache on top of this layer too.
11) Apply the whipped cream on top of ganache.

Your cake is ready!!

Notes:
1) If you are not comfortable with double boiler method for melting chocolate, you can do it in microwave. It's simpler and quicker but if you don't keep an eye on the chocolate it may get burnt!!
2) In place of whipped cream you can use butter cream icing too.
3) Whipping cream to stiff peaks takes a lot of time. Also it helps to keep your cream cool. I generally put my bowl with cream in another bigger bowl filled with ice cubes, this ensures that the cream is cool. In past I have used my hand beater to whip the cream and it used to take around 30 minutes. Now I use my hand mixer (love it) and it takes half of the time!
4) As I said you can use any sponge recipe that you like.
Chocolate sponge cake with chocolate ganache


Chocolate Truffle Cake with whipped cream
+techie ZM 

Monday, 11 November 2013

Something New...

After my last post, I disappeared one more time. There were lots of things keeping me busy. A lot of things happened during my break. I've shared them on my other blog.

Some of you may have noticed the new tab on my blog. I have started a home baking business. So I take orders and bake cakes, cookies and breads. The response has been good so far. I also kept a stall during Durga pooja festival and that too did well. So I am all enthusiastic about it. Wish me luck friends.

Today I am sharing pictures of the cake that I baked on order. It's the black forest cake. I have already shared the recipe. You can find it here.


+techie ZM

Tuesday, 29 January 2013

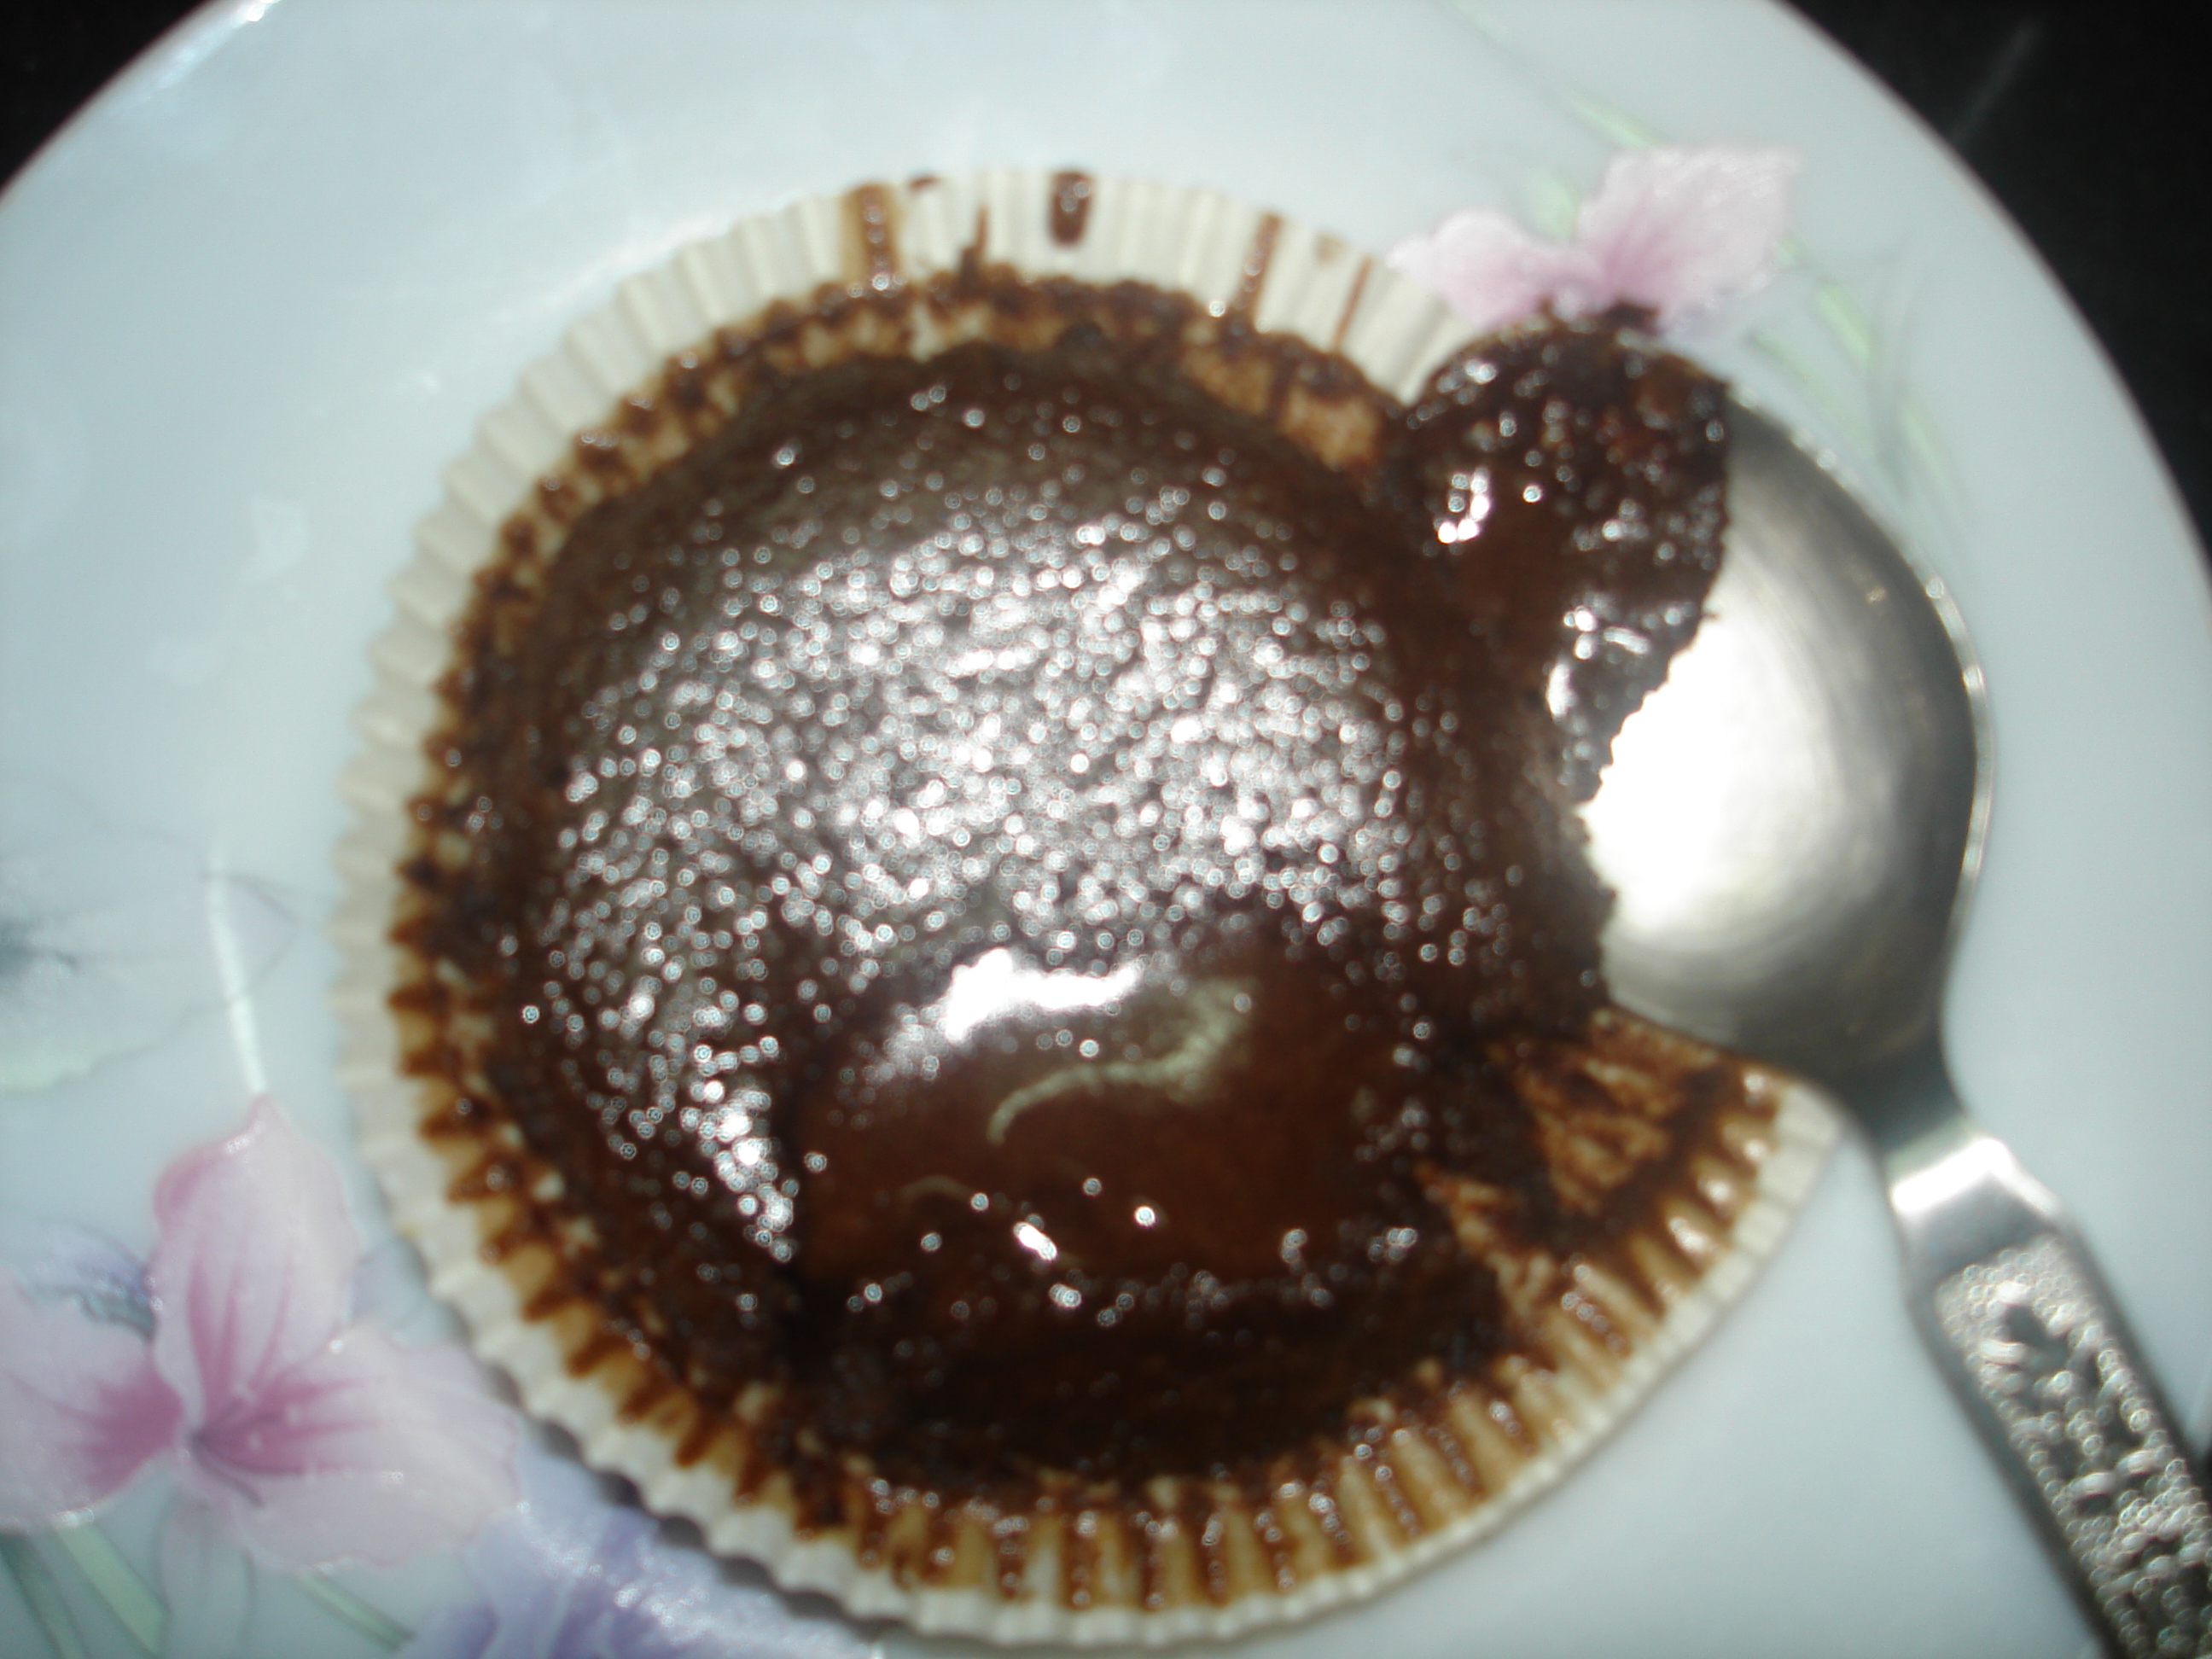
Choco lava cake


This Recipe is from Various sources on internet.

You can know more about my adventure with it here.

DSC00061

1)      Make the batter of normal chocolate cake.

2)      Keep it a little liquidy by adding a little extra milk (and sugar for that milk). Mix well.

3)      Pre-heat the oven to 180 degree C.

4)      Now grease ramekins, or use butter paper cups.

5)      Pour the batter in the ramekins/cups.

6)      Based on the size of your ramekins/cups you will have to set the timer for baking. For the medium sized butter paper cup, bake it for 6 minutes. For a bigger ramekins you may need baking upto 10 mins.

7)      Once cooked, run a knife on the sides and take the cake out carefully in the serving plate without breaking it. If using the butter paper cup then no need to take out the cake, serve as it is.

By the way, i used normal steel katoris (of medium size) for baking this cake as i didn't have ramekins. For this, i kept timer on 5 mins. But keep in mind that based on the size of your baking bowl/ cup/ ramekin the size may differ. Please perform the test mentioned below before cooking the cake further or taking it out.

Edited to add: I am happy to report that using the ramekins, i was able to take out the cake without breaking it :) I am using Aluminium ramekins...

Here, you have to be very cautious because extra cooking may mean that there won’t be liquid in the center. There is a test to check the state. See that the top is cooked and is a springy, when you put the knife inside, it should be coated with the chocolaty liquid.

So basic idea is to cook sides, top and bottom and let the center be liquidy.

You can serve this with Vanilla ice-cream for the hot and cool effect in summers and as it is in winter to warm your guests up :)

Leaving you with one more pic:

Ice-Cream cake or Cake Ice-cream?!?!


I am not able to decide the name of this dessert, but both these names suit it completely because it has both - the ice-cream and the chocolate cake...

It's not the regular ice-cream cake, where you have ice-cream frosting or even the one where you get a piece of cake with a scoop of ice-cream!!! It's a little tweaked recipe and gives you Popsicle like dessert...

Why i made it? because i was supposed to get guest and i was planning to make choco lava cake for dessert, but they got delayed, so from the same batter i baked regular chocolate cake and mixed it with ice-cream for a quick dessert next day!!!!

And let me tell you it tastes yummazing :) See for yourself...

Ice-cream cake
Ice Cream Cake...
Now, don't you want to make it??!!! So Please take the recipe and make it before winter starts full blown....

Ingredients:

Vanilla Ice cream (in semi-solid state)


Cup-Cake moulds (Or Kulfi moulds will also do)

Chocolate syrup (Optional - For decoration)

Whipped cream (Optional - For decoration)

Popsicle sticks (Optional)

Method:

1) Brake your cake into crumbs.

2) In a bowl, mix ice-cream and cake crumbs thoroughly (preferably using your hands).

3) Fill in the cup-cake moulds (if you wish you can insert small dessert spoons or popsicle sticks in it, but it is completely optional).

4) Before serving freeze for 30 minutes (or till the cake sets - remember, we don't want a hard rock cake).

5) Take out and let it sit out for 5 minutes. If it became too hard in freezer then let it sit out till it gets softer.

6) I served it with chocolate sauce and whipped cream!!!! It tastes great just like that also...Take your pick and ENJOY!!!!!!

Notes:

1) You can go crazy with the combination. So in place of chocolate cake you can use vanilla cake or fruit cake. Similarly experiment with different ice-creams, (Vanilla, strawberry, butterscotch...)

2) You can add nuts/raisin/chocolate chips/Chocolate shavings (or anything else that comes to your mind) to the mixture!!!!

Chocolate sponge cake.....

I am following recipe from Neeta Mehta cookery book with little modification suggested by my MIL .

This is the first cake i baked :) . First time, I made it for my hubby’s birthday. As I didn’t have time to go out shopping for him, I thought of surprising him by a cake. But when I started making it, I realized that I didn’t have enough eggs with me.

So I called my front door neighbour and friend P, she not only gave me eggs, but came to see if I was doing it alright.

And thank god she came, because it was she who noticed that I had used Rice flour in place of Maida!!!! So, I discarded the flour and started again from scratch.

But now I am pretty confident with this cake, and make it very often. I have also replaced maida with whole wheat flour for health reasons

Hubby's birthday cake - The 1st cake i baked...
Ingredients:

Eggs – 4 medium sized
Powdered Sugar – 1¼ Cup
Whole Wheat flour – 1 Cup (you can use Maida, but I find this healthier and tastier :) )
Cocoa Powder – ½ cup (I use cadbury’s cocoa powder)
Baking powder – ½  tspoon
Mitha Soda – a pinch
Oil – ¾ cup
Vanilla essence – 1 tspoon

Method: 

1) Sieve the flour, Baking powder, Mitha soda and cocoa powder together using a sieve (or you can simply mix them with your hands).
2) Break egg and keep egg whites separate from yolk.
3) Now, put egg whites in food processor and run it on low speed. (if you don’t want to use it then use beater to beat egg whites)
4) Add sugar to food processor and continue to run it. (in place of food processor beater can be used)
5) Add Vanilla essence.
6) Add the flour little by little while still running the food processor. (If not using food processor, fold it using a wooden spoon a little by little)
7) Add Egg yolk. Let it mix well and stop food processor. (Use the beater if not using food processor)
8) If you find the consistency of the batter too thick then you can add a little milk or fresh cream and then mix well.
9) Pre-heat the oven at 180 degree C.
10) Grease a baking tin using oil and flour. Remove extra flour from the greased tin. (Or you can use butter paper as well.)
11) Pour the batter in the baking tin.
12) Bake it in the oven for 30 minutes or till the knife comes out clean. (You can put a knife in the cake and if it comes out clean that means the cake is ready.)
13) Take it out on a wire rack and let it cool. 

Decorate if you wish to and cut it and enjoy it :)

Sourdough Starter | Make your own Sourdough Starter at home | Bread without commercial yeast | Mother Starter

We are a nation of flatbread lovers.. We can't do without our rotis, Parathas, Chapatis and Puris.. But we also embrace new food trands...