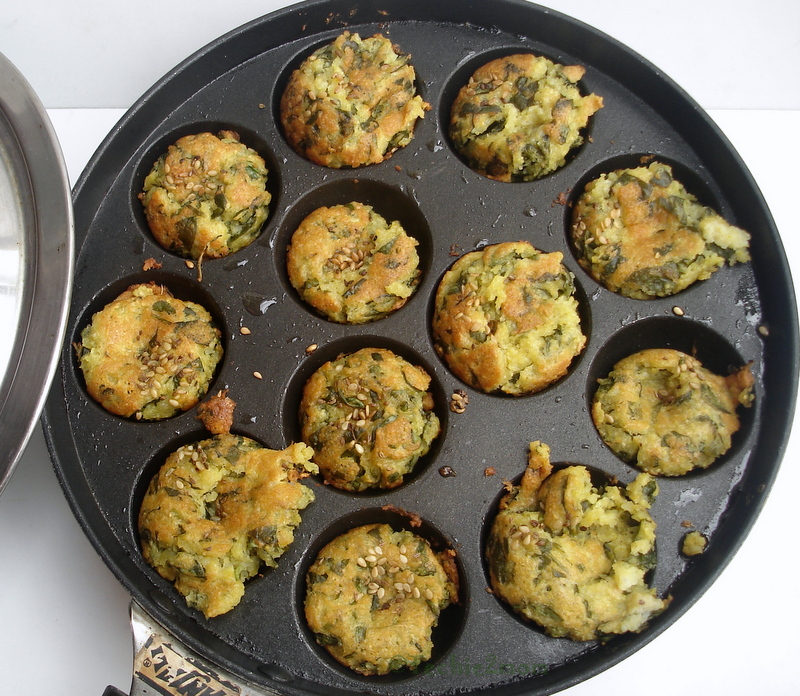
Didn't I tell you in my muthiya post that, I was going crazy with the Paniyaram Pan AKA pancake poppers pan.. Here is one more proof ;) I decided to make Handvo in this pan and the result was these cute, little, crispy, crunchy, soft inside handva balls, more like savory muffins!! For me the best part of handvo is its crispy crunchy crust!! And in Paniyaram pan you get a perfectly crispy crust!!
I am loving it :)
Ingredients:
Handva no lot (Click here to know how to get it)
Curd - 1 Tablespoon
Method:
1) In hadva no lot add curd. Add water to make thick batter and mix well. Cover and let it ferment overnight (or 7-8 hours)
2) Once the fermentation takes place, add turmeric powder, green chili and ginger paste, asafoetida (hing), grated bottle gourd (or the veggie you are using) and baking powder.
3) Mix well.
4) Heat the paniyaram pan (pancake popper pan) on medium flame, add a drop of oil in each recess of the pan.
5) Add a pinch of til (sesame seeds) in each recess.
6) Once the til crackles, drop a spoonful of batter in each recess. Cover and let cook.
7) Once the one side is cooked to desired colour, flip each handva ball. I really like the browned, almost burnt crust, you can choose to cook it less if you wish.
8) Cover and cook for 5 more minutes.
Take out and enjoy with green chutney or ketchup!! Yummy!!
+techie ZM
I am loving it :)
 |
| Handvo in paniyaram pan |
 |
| Handvo in paniyaram pan |
Handva no lot (Click here to know how to get it)
Curd - 1 Tablespoon
Green chili paste- 1/2 teaspoon
Ginger paste - 1/2 teaspoon
Turmeric powder - 1/2 teaspoon
Asafoetida - 1 pinch
Turmeric powder - 1/2 teaspoon
Asafoetida - 1 pinch
Salt to taste
Baking soda - 2-3 pinches (If making in the pan, not needed. If baking in the oven then use this)
1 small Lauki/Doodhi/Bottle Gourd (around 300 gms) - washed, peeled and grated
You can also add sugar, but i don't , not my thing...
1/4 teaspoon til (sesame seeds)You can also add sugar, but i don't , not my thing...
Method:
1) In hadva no lot add curd. Add water to make thick batter and mix well. Cover and let it ferment overnight (or 7-8 hours)
2) Once the fermentation takes place, add turmeric powder, green chili and ginger paste, asafoetida (hing), grated bottle gourd (or the veggie you are using) and baking powder.
3) Mix well.
4) Heat the paniyaram pan (pancake popper pan) on medium flame, add a drop of oil in each recess of the pan.
5) Add a pinch of til (sesame seeds) in each recess.
6) Once the til crackles, drop a spoonful of batter in each recess. Cover and let cook.
7) Once the one side is cooked to desired colour, flip each handva ball. I really like the browned, almost burnt crust, you can choose to cook it less if you wish.
8) Cover and cook for 5 more minutes.
Take out and enjoy with green chutney or ketchup!! Yummy!!
+techie ZM